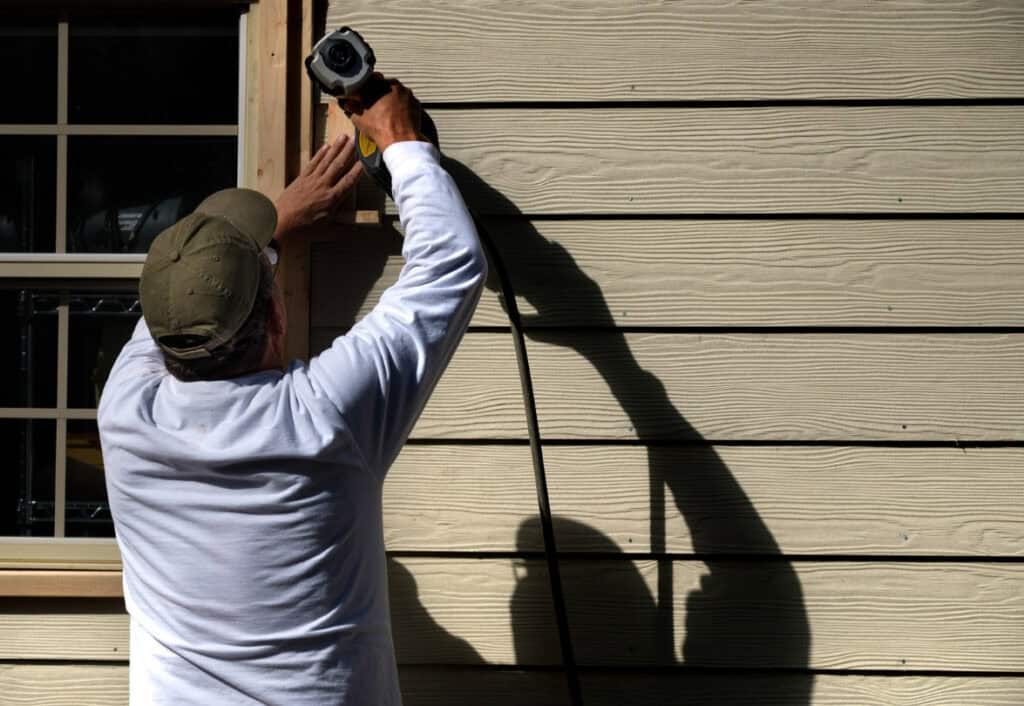
Siding is a crucial component of your home, providing protection against the elements and contributing significantly to its aesthetic appeal. Proper siding is essential in Seattle, where the weather can be particularly harsh and unpredictable.
Table of Contents
If you’re considering Seattle siding installation and replacement, preparing your home adequately is important to ensure a smooth process and optimal results. Here’s a comprehensive guide to help you get started.

1. Assess Your Current Siding
Before jumping into a Seattle siding installation and replacement project, evaluate the condition of your existing siding. Look for signs of damage, such as cracks, warping, mold, or rot.
This initial assessment will help you determine whether you need a full replacement or if some sections can be repaired. Documenting these issues will also be helpful when consulting with your contractor.

2. Choose the Right Siding Installation Material
Seattle’s climate requires durable siding materials that can withstand rain, wind, and occasional snow. Popular choices include vinyl, fiber cement, and wood.
Vinyl siding is low-maintenance and cost-effective, while fiber cement offers exceptional durability and a variety of styles. Wood siding provides a classic look but requires more maintenance. Discuss with your contractor to choose the best material for your home.
3. Hire a Reputable Contractor
Selecting a reputable contractor is critical for a successful siding installation. Look for contractors with positive reviews, proper licensing, and insurance. Local expertise is precious for Seattle siding installation and replacement due to the region’s specific climate challenges. Ask for references and view past projects to gauge the quality of their work.
4. Obtain Necessary Permits
In Seattle, certain home improvement projects, including siding installation, may require permits. Check with the Seattle Department of Construction and Inspections to determine if you need a permit for your project. Your contractor can often assist with this process, ensuring all legal requirements are met.
5. Prepare Your Home’s Exterior
To facilitate a smooth installation process, prepare the exterior of your home. This involves:
- Clearing the Area: Remove any obstacles around your home’s perimeter, such as outdoor furniture, planters, and lawn equipment. This provides a safe and clear workspace for the installation crew.
- Trimming Landscaping: Trim back any trees, shrubs, or vines that are close to the house. This prevents damage to your landscaping and allows the crew to work more efficiently.
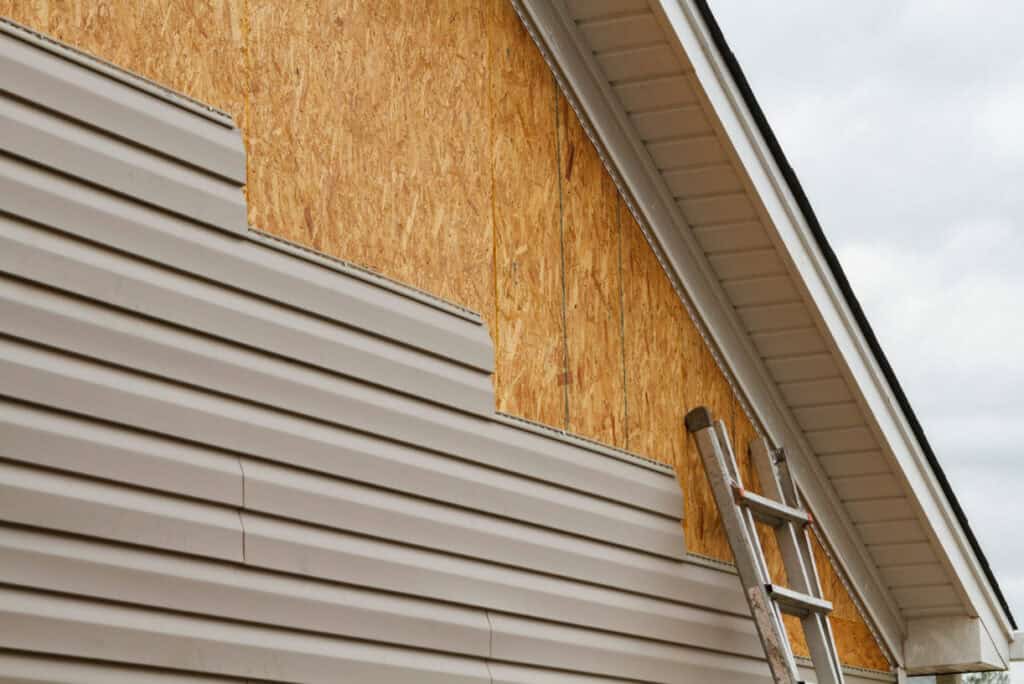
- Removing Old Siding: Depending on the agreement with your contractor, you may need to remove the old siding. This can expose the underlying structure, allowing for necessary repairs before new siding is installed.
6. Inspect and Repair Underlying Structures
Before the new siding goes up, it’s crucial to inspect the underlying structure of your home for any damage or areas that need repair. Issues such as rot, mold, or pest damage should be addressed to ensure the longevity and performance of your new siding. Your contractor can help identify and fix these problems during the preparation phase.
7. Weatherproof Your Home
Seattle’s wet climate demands excellent weatherproofing to protect your home. Ensure proper installation of weather-resistant barriers and flashing to prevent water infiltration. This step is essential to maintain the integrity of your home’s structure and new siding.

8. Communicate with Your Contractor
Maintaining clear and open communication with your contractor throughout the project is vital. Discuss timelines, daily work schedules, and any potential disruptions. This helps manage expectations and ensures a smooth workflow.
9. Plan for Disposal
Siding installation generates debris from old siding, packaging, and materials. Arrange for proper disposal or recycling of these materials. Your contractor might handle this, but confirm to avoid any surprises.
10. Final Inspection and Maintenance Plan
After the installation is complete, conduct a thorough inspection with your contractor to ensure everything is done correctly. Discuss a maintenance plan to keep your new siding in excellent condition. Regular cleaning and periodic inspections can extend the life of your siding and keep your home looking its best.
By following these steps, you can ensure a successful Seattle siding installation and replacement project, enhancing your home’s durability and aesthetic appeal while protecting it from the Pacific Northwest’s challenging weather conditions.


