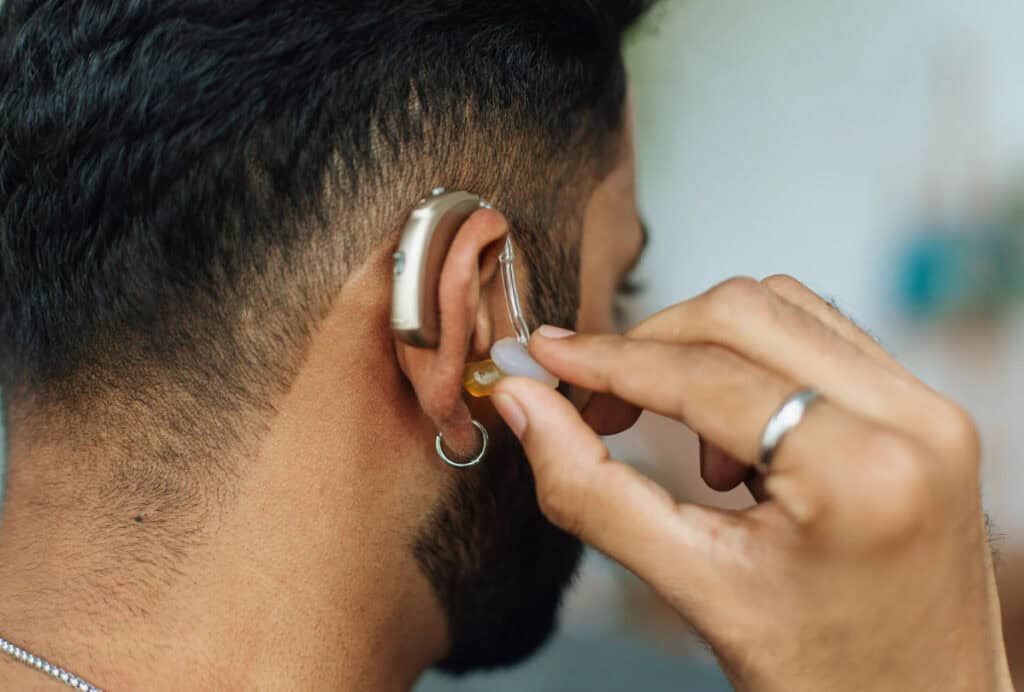
Hearing aids are incredible little marvels of modern technology. They help us stay connected to the world by amplifying sound, allowing those with hearing impairments to enjoy the symphony of life.
Table of Contents
But like any tech, they need a bit of TLC to keep working their best. If you’re a hearing aid user, it’s crucial to understand why these tiny components matter and how to keep them in top shape.
One of the most important parts of this care is maintaining and replacing hearing aid filters. On this post, let’s take a closer look at why this is important and how to know when it’s time to replace your hearing aid filters.

Why Hearing Aid Filters Matter
Earwax, while essential for protecting your ears, can be a nemesis for hearing aids. Hearing aid filters act as a barrier, preventing wax from reaching the delicate inner components of the device.
Without them, earwax could cause blockages that diminish sound quality or even damage the hearing aid. Regularly maintaining and replacing filters can significantly extend the life of your hearing aids.
Clean filters mean less strain on the device, which translates to fewer repairs and longer-lasting performance. It’s like giving your hearing aid a spa day!

How to Maintain Hearing Aid Filters
Maintaining your hearing aid filters doesn’t have to be a daunting task. With a few simple steps, you can keep them clean and functioning optimally.
Daily Cleaning Routine
- Inspect Your Hearing Aids: Before you put your hearing aids in each morning, take a moment to look them over. Check for any visible earwax or debris on the filters.
- Use a Cleaning Brush: Most hearing aids come with a small cleaning brush. Gently brush away any visible debris from the filters. Be careful not to push the wax deeper into the device.
- Wipe Down the Device: Use a soft, dry cloth to wipe down the entire hearing aid, including the filters. This will help remove any oil or moisture that may have accumulated overnight.
Weekly Deep Cleaning
- Remove the Filters: Depending on your hearing aid model, you may need a special tool to remove the filters. Follow the manufacturer’s instructions to safely remove them.
- Clean with a Solution: Use a cleaning solution recommended by your audiologist or hearing aid provider. Dip the filters in the solution and gently brush away any buildup.
- Dry Thoroughly: Make sure the filters are completely dry before reinserting them into your hearing aids. Moisture can damage the device and affect sound quality.

When to Replace Hearing Aid Filters
Even with the best care, filters will need to be replaced eventually. Knowing when to do this can help you avoid issues and keep your hearing aids performing at their best.
Signs It’s Time to Replace
- Reduced Sound Quality: If sounds start to seem muffled or less clear, it could be a sign that your filters are clogged and need replacing.
- Visible Buildup: When you notice significant earwax or debris on the filters that can’t be removed with brushing, it’s time for a change.
- Regular Maintenance Schedule: Typically, filters should be replaced every 1-3 months, but this can vary depending on your earwax production and usage.
How to Replace Hearing Aid Filters
- Gather Your Tools: You’ll need new filters and any special tools included with your hearing aids.
- Remove the Old Filter: Follow the manufacturer’s instructions to safely remove the old filter. This often involves using a small tool to pull it out.
- Insert the New Filter: Carefully place the new filter into the hearing aid, making sure it’s securely in place.
- Test the Hearing Aid: After replacing the filter, turn on your hearing aid and check the sound quality. If everything sounds clear, you’re good to go!
Properly maintaining and replacing hearing aid filters is essential for keeping your hearing aids in top condition. With regular care, you can enjoy clear, crisp sound and extend the life of your devices. Remember, your hearing aids are an investment in your quality of life—taking care of them ensures you get the most out of that investment.


